
Hiking foods – A sustainable and plant based approach
During February of last year, Timo was in the midst of preparing to start back on the Te Araroa trail, travelling from Arthur’s Pass, through Nelson lakes and over the Richmond Ranges, where I would meet him again at the beautiful Pelorus Bridge. I was excited to be involved in the planning, especially the food preparation, as I had never done more than an overnight hike. Planning for multiple days out in the wilds was a foreign concept to me, and I was interested in what was needed.
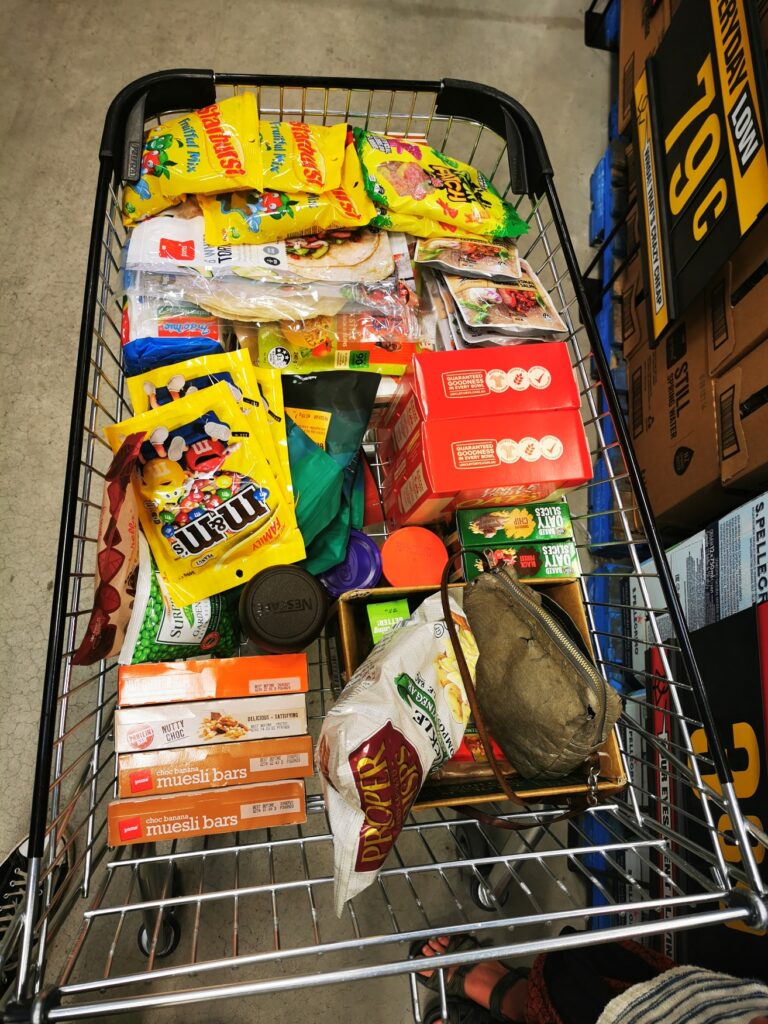
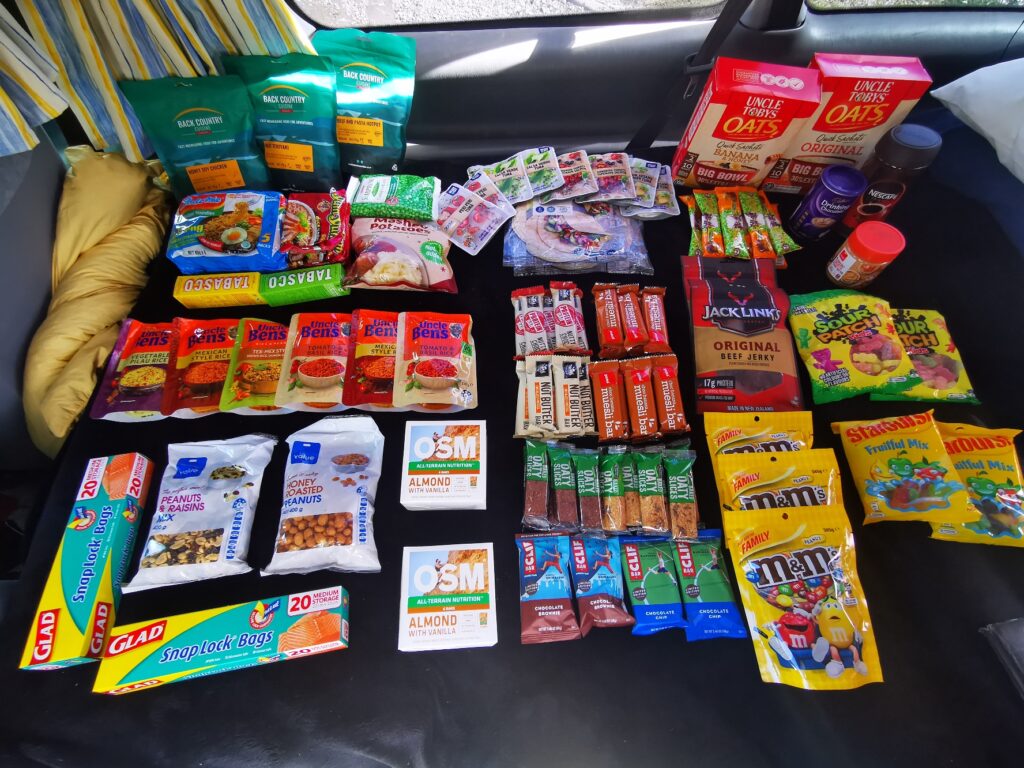
We went to our local supermarket, where he stocked up on the typical hiking food. Snacks included nuts, nut bars, chocolate, and the holy grail - a variety of lollies for the end of day treat. Dinners consisted of packs of Uncle Ben's rice, with ready-to-eat tuna sachets and wraps. Also in the mix were tubs of peanut butter and beef jerky, for a protein hit.
As we laid all the food out on our mat, ready to allocate into plastic snaplock bags for each day, I was shocked at the amount of single use plastic that was involved with hiking food. As someone who tries (but it not always 100% successful) to eat with minimal waste and with a focus on plant-based food, I didn’t see how I could incorporate these lifestyle choices into thru-hiking.
Fast forward a week, I was at home and trying to do research into how it could be possible, and was disappointed in how little information I could find online. Many options for plant based meals were still packaged in single use plastic, or were more expensive, coming in at around $15 per dinner.
I decided to experiment with creating my own meals.
Plant-based Camping Meal Ideas
- Moroccan couscous with dehydrated veggies, nooch*, spices, nuts, and currants
- Pasta with dehydrated veggies, nooch, Italian herbs, and sun-dried tomatoes
- Coconut Dahl with dehydrated veggies, nooch, spices, tomatoes, and coconut milk powder
- Oats with coconut milk powder, goji berries, linseeds, chia seeds, nuts, and dried fruit (mango, raspberries, blueberries etc)
- Home-made chocolate and peanut butter nut bars (because snacks are vital)
* Nutritional yeast. An awesome food, contains all nine essential amino acids, as well as a good ol chunk of vitamins (such as B vitamins, including thiamine, riboflavin, B6 and B12 for all you plant-based people out there) and minerals such as zinc, selenium and manganese.
t also adds a cheesy, nutty, or savory taste to foods, and so is an excellent addition to any hiking meal.
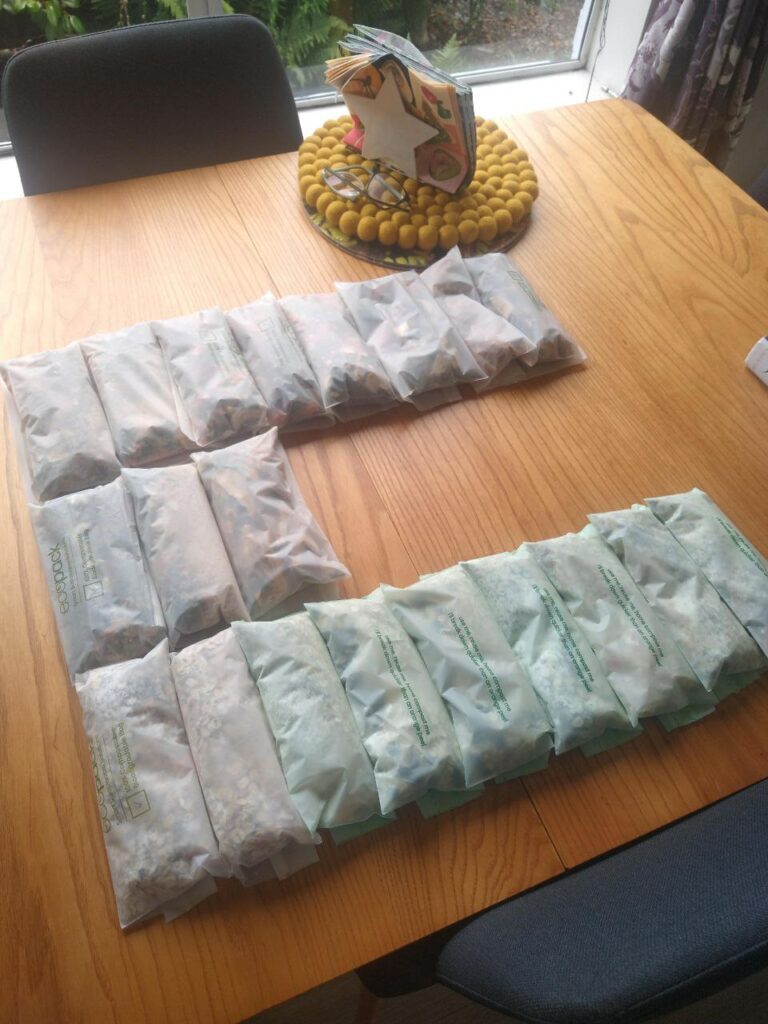
For these recipes, I will give a little list of ingredients at the end of this post. All you have to do is mix them in a bowl and then put them into a compostable snaplock bag or silicon reusable bag. Et voila! One delicious hiking meal, ready to go.
I also carry a small container of olive oil with me, and add a drizzle to my dinner once it’s cooked. This adds some much needed calories and fat.
Where can I find these ingredients?
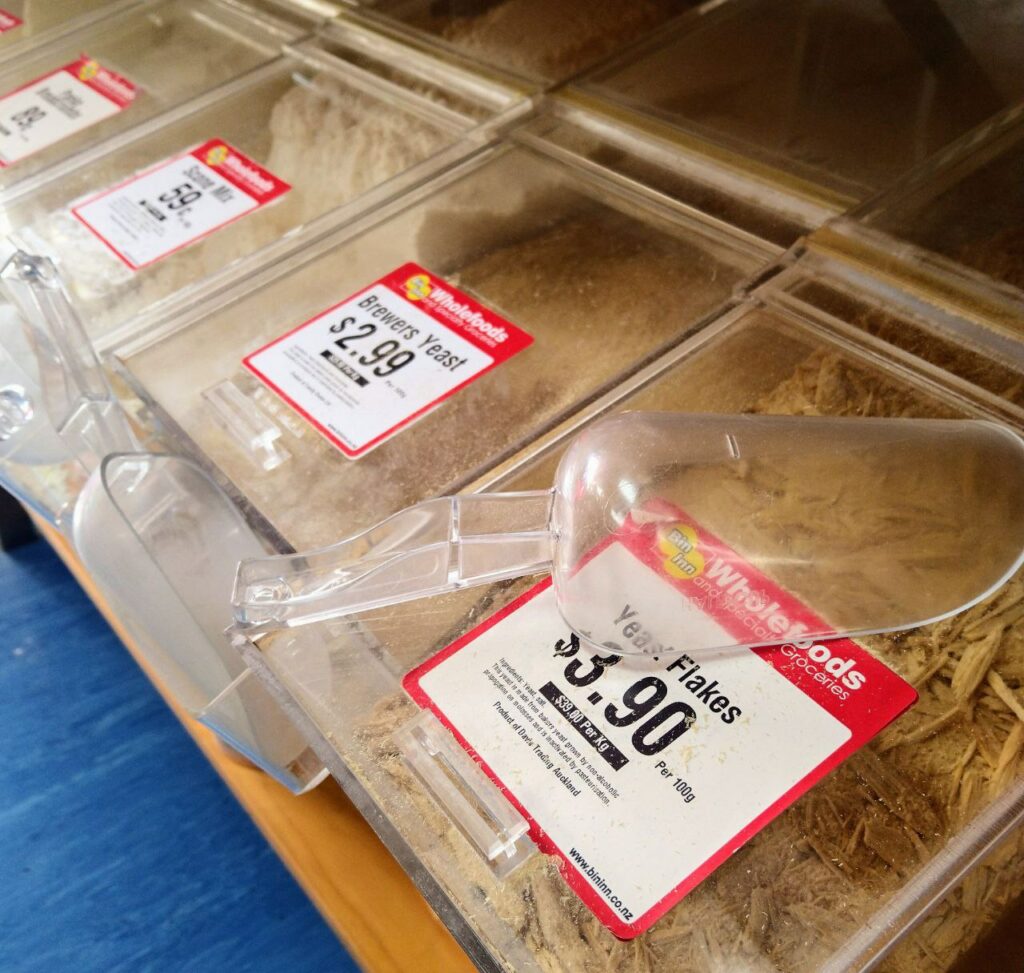
The magic of Whole Foods!
To source my oats, pasta, and lentils, I went to Bin Inn, a whole foods retailer found all around New Zealand. These stores allow you to bring in your own container and fill it, removing the need for single use packaging.
Bonus! Its often a lot cheaper than supermarket products, although it takes a little more planning. From here, you can get:
- pasta
- red lentils
- couscous
- oats
- coconut milk powder
- nutritional yeast
- nuts
- seeds
- dried fruit
- spices
- dried mushrooms
Making my own dehydrated vegetables
I wanted to see if I could still get a more rounded, veggie packed diet while hiking. As veggies are often heavy and not particularly calorie-dense, they are often left out of hiking food preparation. However, they are an excellent source of vitamins, and are vital to maintaining a healthy gut microbiome!
I decided to experiment with dehydrating veggies, too see how light they would become and how they would cook on the trail.
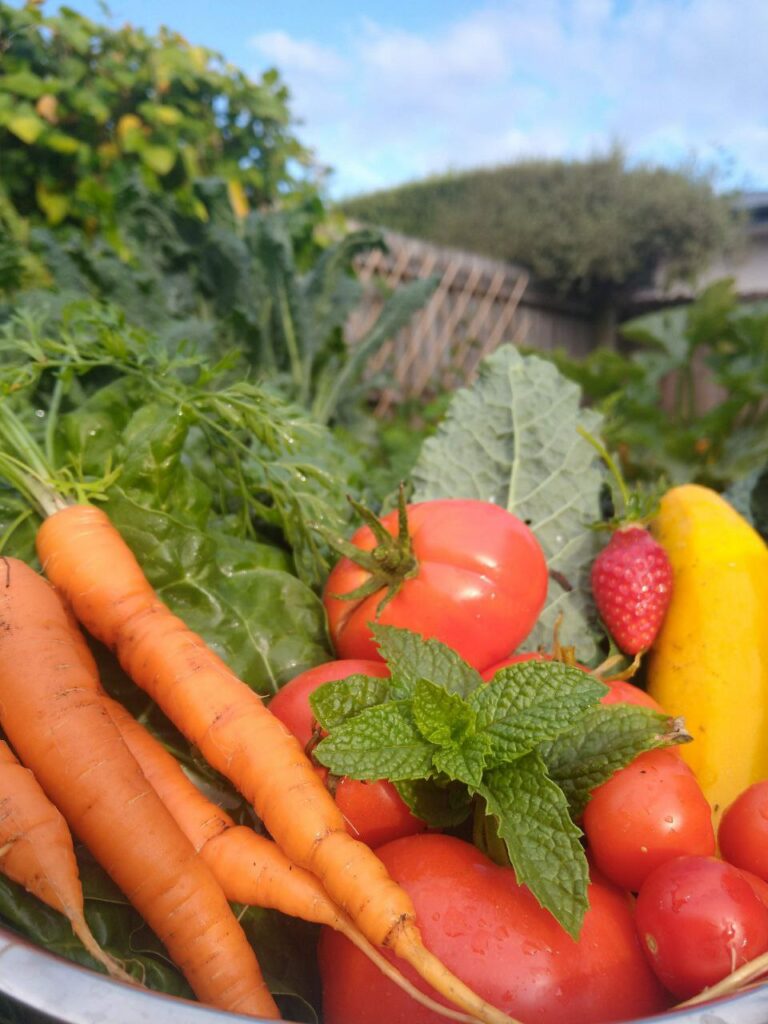
I gathered most of the vegetables used in this little experiment from my garden, however if this is not possible you can check out your local farmers market or supermarket for a selection of yummie veggies!
As I was at home, I had an oven at my disposal. In this I put spinach, silverbeet, carrots, zucchini, and cherry tomatoes. This worked (to my surprise) with great success!
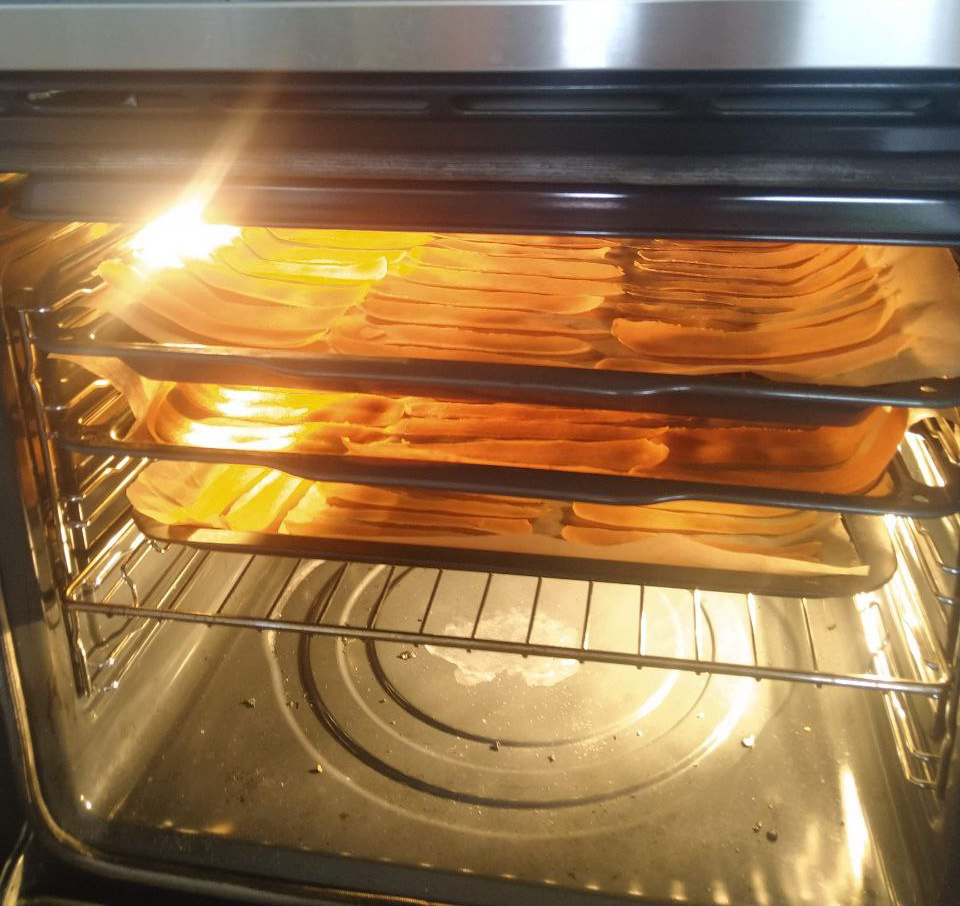
Zucchini and Carrots
I prepared the zucchini and carrots in thin slices using a peeler, and laid them out flat on a baking tray. I set the oven to 65°C on fanbake, and left them for 6 hours. The low temperature and fan is important, as it slowly removes the water content of the vegetable slices without cooking them! They became tiny and dry, like little pieces of leather.
Spinach
The spinach and sliver beet I cut into long, thin strips, removing the stems. These dried a lot faster than the carrots, and were ready in around 1-2 hours.
Tomatoes
Last but not least, the cherry tomatoes! I love tomatoes, and the idea of having them on the trail is bliss.
I started by cutting the tomatoes in half lengthways, and placing them cut-side up on the baking tray. I then sprinkled them with a little bit of salt, which helps retain the flavor and also to remove water, speeding up the dehydrating process.
For the tomatoes, I set the oven to 120°C fanbake, and they were ready in around 4-6 hours.
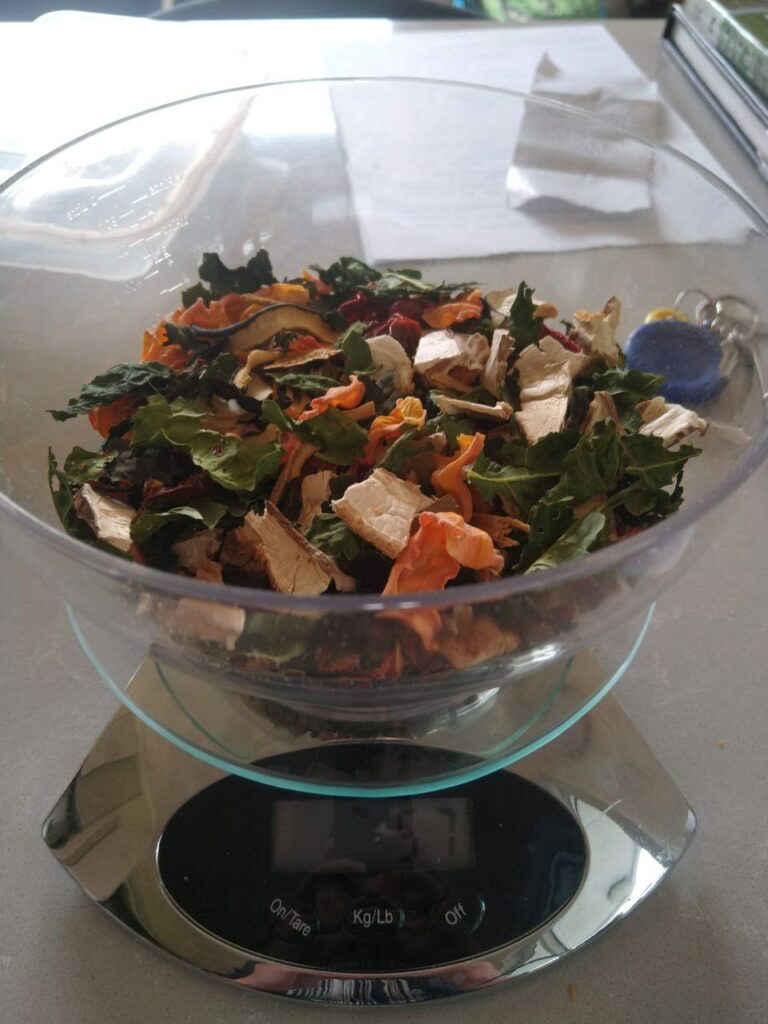
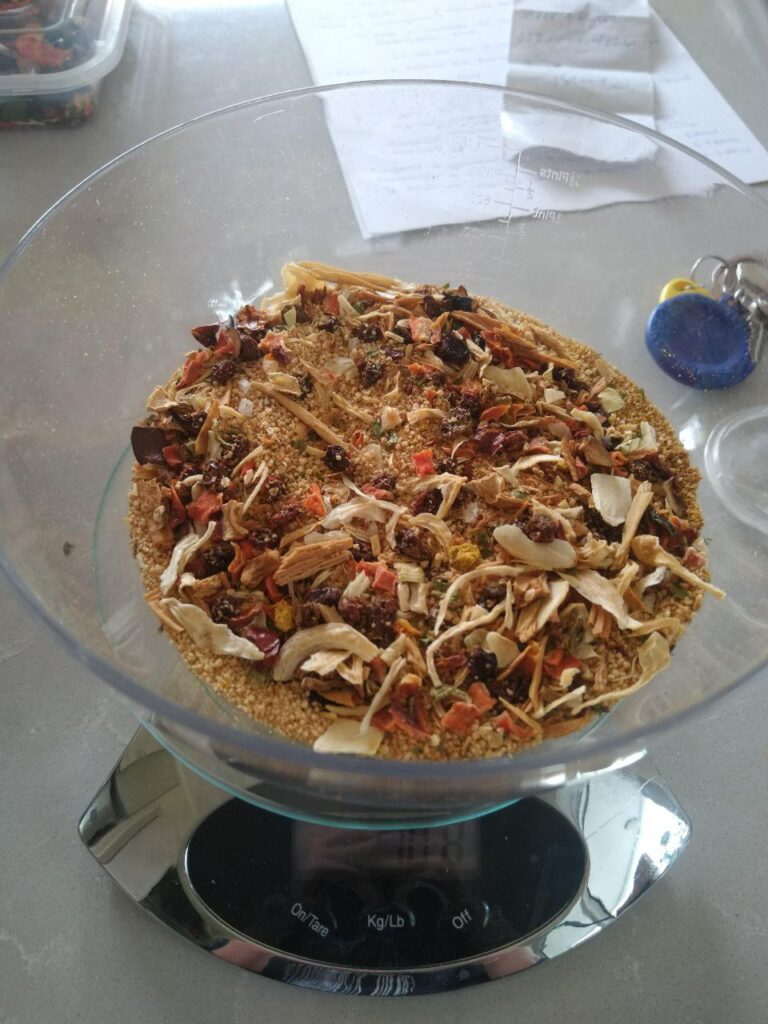
Pictured above is a mix of all my dehydrated veggies. 2 cups of dehydrated vegetables amounted to around 60g in weight! They will double in size when cooked, and so I used around half a cup of these per dinner.
How to cook your dehydrated veggies!
Cooking up the dehydrated vegetables on a campstove proved to be remarkably easy! Pour your meal into a camping cooker, cover with water and bring to the boil. Then allow it to sit for 15-20 minutes, too rehydrate the veggies nicely, as well as cooking the pasta/red lentils at the same time! And let me tell you, they made the meal delicious at the end of a big hike!
Recipes – How to put them all together!
Right! So we have all our dried ingredients, now it’s time to put them all together and make some magic! The goal of these recipes is to make something lightweight, nutrient-dense, easy to cook, and delicious!
Moroccan Couscous
- 2/3 cup dried Couscous
- 1/2 cup mixed dried vegetables (spinach, carrots, mushrooms, tomatoes)
- 1 tablespoon nooch
- a handful of currants
- 1/2 teaspoon stock powder (vege or otherwise)
- 1/4 teaspoon for each spice – turmeric, cumin, cinnamon and coriander
- nuts, I prefer sliced almonds but once again, up to you!
- pinch of salt and pepper
- Quantities to note:
- 2/3 cup dry couscous should result in around 1.5 cups cooked (270 calories)
- Dehydrated vegetables can almost double in size when rehydrated.
To cook, just pour the mix into your favorite hiking cooker and add 400 ml of water. Bring to boiling, and then cover and allow to sit and cook for 15 minutes, until the couscous is cooked!
Tomato and Basil Pasta
- 70g pasta (my favorite is fettuccine, however insert your favorite here!)
- 1/2 cup mixed dried veggies
- 1 tablespoon nooch
- 1/4 teaspoon of each spice – garlic powder, onion powder, Italian herbs, and some chilli if your feeling wild
- pinch of salt and pepper
To cook, pour into your hiking cooker and cover with pasta with water. Bring to the boil and let it simmer for 8 minutes, or until the pasta is cooked through. Then allow the meal to sit for a further 8 minutes, before draining out the water. Buon appetito!

Coconut Red Lentil Dahl
- 1/2 cup dry red lentils
- 1/2 cup mixed dried veggies
- 1 tablespoon nooch
- 1/2 teaspoon stock powder
- 1 tablespoon coconut milk powder (for that creamy goodness)
- 1/4 teaspoon for each spice – tumeric, cinnamon, cumin, garlic powder, onion powder, paprika, chilli, coriander,
- pinch of salt and pepper
To cook, our your lentil mix into you cooker. Add water, until there is 1-2 inches of water above the lentils, and bring to a boil. Allow to simmer for 5-10 minutes, or until the lentils have reached their desired texture.
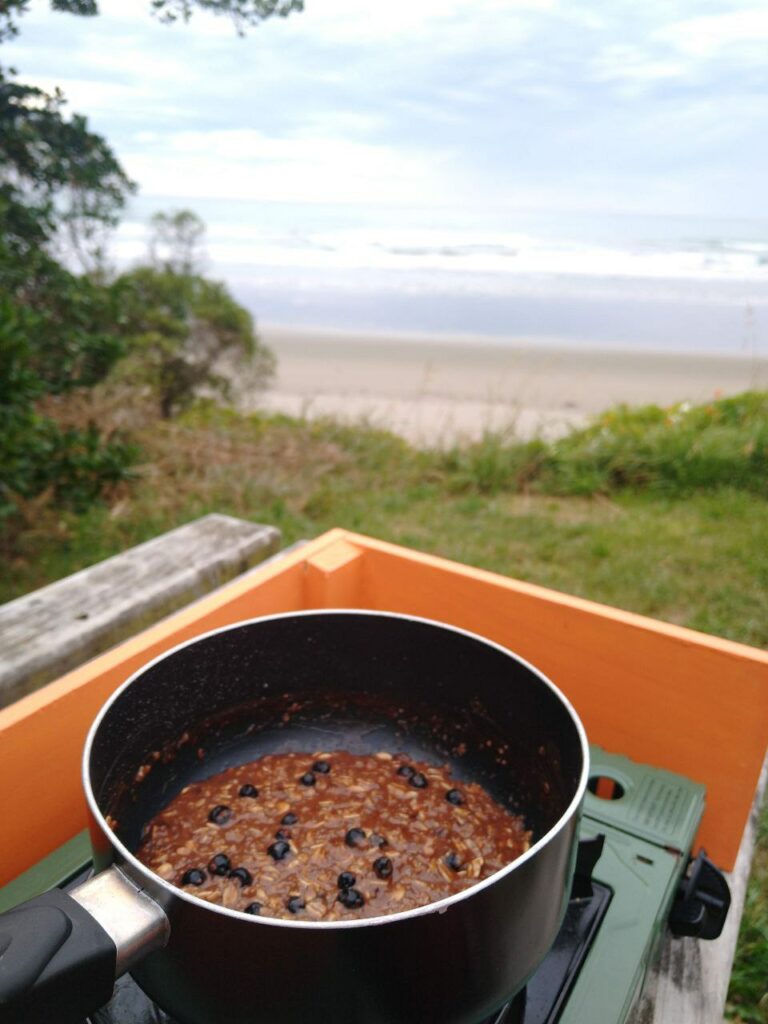
Bang Bang Oats
- 2/3 cup oats
- 1 tablespoon coconut milk powder
- 1 teaspoon linseeds
- 1 teaspoon chia seeds
And now to get creative and add your toppings! I tried coconut and raspberry, and chocolate and blueberry for my alternative flavor of oats. I used freeze-dried berries from the supermarket, and for chocolate I used a mix of hot chocolate powder and cacao powder.
Some additional yummies that I looove in my porridge are goji berries, cacao nibs (for a good crunch), and peanut butter.
Homemade Chocolate and Peanut Butter Nut Bars
- 2 cups assorted chopped nuts – I chose peanuts, almonds, and walnuts, however cashews and pecans would also be delicious!
- 1/4 cup dried coconut
- 1/4 cup rasins or cranberries
- pumpkin seeds
- 1 teaspoon chia seeds
- pinch sea salt (if nuts aren’t already salted)
- 1 teaspoon vanilla extract
- 1/2 cup maple syrup or honey (helps bind the nuts together and add sweetness)
- melted peanut butter
- melted chocolate
1. Set oven to 165°C and line a tray with baking paper
2. Mix all nuts, dried fruit, seeds and salt in a bowl
3. Mix maple syrup and vanilla extract in a separate bowl, before pouring over the dry ingredients and fold, until all ingredients are coated
4. Pour mix onto the baking tray and flatten out using a spatula
5. Bake for 30-35 minutes, and then allow to cool for around an hour (in the fridge is best)
6. Drizzle melted chocolate and peanut butter over the nuts until sufficiently delicious looking! Then put it into the fridge for another hour to allow the topping to harden
7. Slice into bars and your ready to go!
Good luck, and happy hiking!
I hope you enjoyed this post, and have fun making your very own sustainable, plant-based hiking food at home! I would love to hear if you enjoyed these recipes, and if you have and suggestions for future meal ideas please let me know in the comments. 🙂

Ich bin Abenteuer-Blogger und stets auf der Suche nach neuen Erlebnissen! Auf meinem Blog möchte ich meine Erfahrungen mit dir teilen und dir Anregungen für deine eigenen Abenteuer geben!
Viel Spaß beim Lesen 🙂
- Blue Eye in Albanien: Ein Sprung ins kalte Nass - 18. Januar 2024
- Angeln im Winter: Tipps und Tricks für die kalte Jahreszeit - 30. Oktober 2023
- Wildkamera Test 2024 | 9 Top-Modelle zur Tierbeobachtung - 29. September 2023
4 Antworten auf „Hiking foods – A sustainable and plant based approach“
Wow! These recipes are so cool! Most are so easy to prepare i guess! I was a little shocked when reading the vegetables need 6 hours in the oven.. have to try this! 😁
Thank you for the healthy food alternatives!
In addition to satisfying your most critical sweets cravings, right this moment’s vegan protein bars can even help guarantee your plant-based diet offers all of the nutrients you want.
Oh my goodness! Awesome article dude! Thanks, However I am going through troubles with your
RSS. I don’t understand why I am unable to subscribe to it.
Is there anybody else having identical RSS issues?
Anyone that knows the answer will you kindly respond?
Thanx!! http://Wayback.Archive-It.org/7993/20180125012702/https://ibissandco.com/tax-tips/mtd-pros-and-cons-2/
Hi Roseanna!
Thanks for your comment! I will have a look into it soon.
Best regards
Timo